Automated X-ray Inspection System
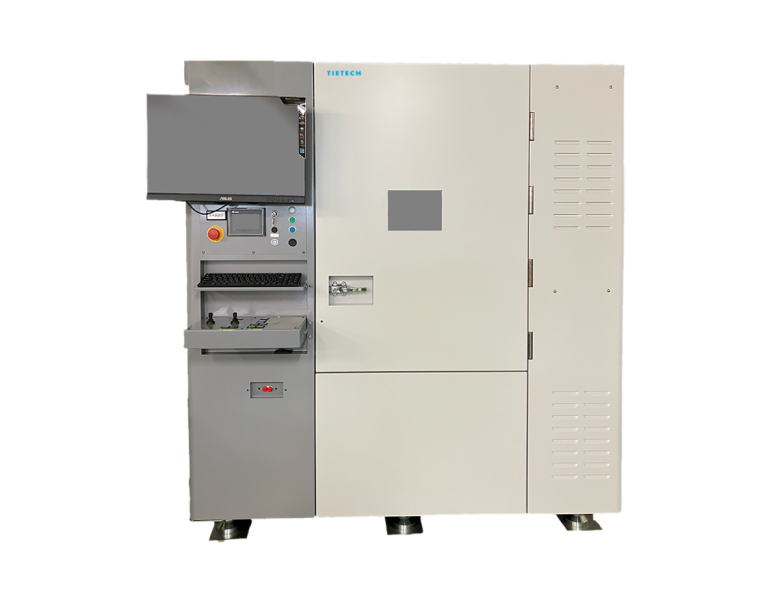
TI-X700i
The TI-X700i X-ray inspection equipment can be used to control the quality of bonding conditions in flip-chip mounting, which is essential for high-density mounting of semiconductor packages, and to improve manufacturing processes.
Features
In order to meet the needs for inline automatic inspection required to automate inspection processes and save labor, the TI-X700i is equipped with the latest technologies such as high-precision motion control and high-speed image processing technology.
The TI-X700i enables automatic inspection of all semiconductor package substrates.
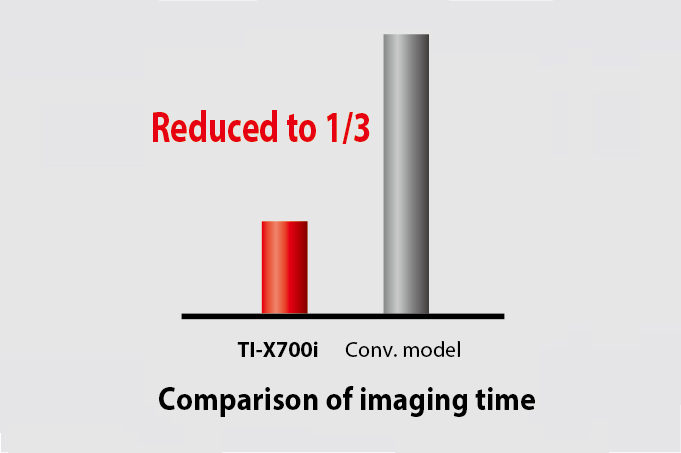
■High speed imaging
Parallel table type is adopted for imaging mechanism. By using high-precision linear guides to enhance XY-axis positional accuracy and using our proprietary motor control technology, sub-micron accuracy is achieved. In addition, the rotation trajectory is perfectly circular, and the field of view can be used effectively without vignetting at the edges of CT images, enabling high-speed inspection.
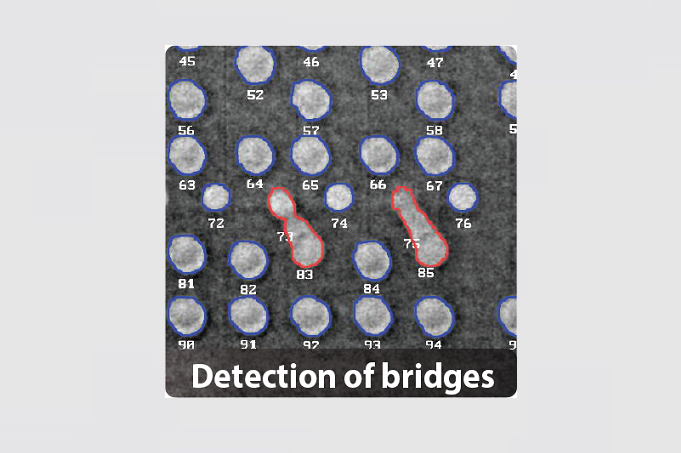
■Automatic detection of defects
Confirmed that C4 bump void can be detected by automatic inspection .
Shooting conditions : Resolution 1μm 48projections Exposure time 50ms Imaging time 10s
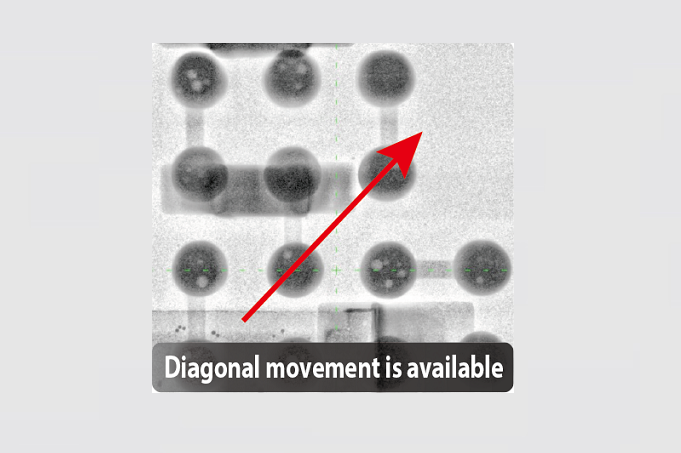
■Easy operation
Operations with the joystick are input directly to the PLC without the need for a PC, ensuring timely operation without delay.
This is convenient when performing the inspection manually.
■Maintenance-free X-ray tube
A transmissive sealed X-ray tube is used for the X-ray generating tube.
It achieves high output, which is intrinsic to sealed type X-ray tubes, as well as the resolution, high magnification, and wide radiation angle equivalent to those of open type X-ray tubes.
There is no need for regular maintenance such as replacing the cathode, which is a consumable item, and there is no need for complicated adjustments of the device or training for workers, thus reducing maintenance costs.
Specifications
| Model | TI-X700i | |
|---|---|---|
| Inspectable board size | Work size:X:350 x Y:350mm Work thickness:Max. 6mm, Work weight:Max. 2.5kg | |
| Board top/bottom clearance | Top : 7mm, Bottom : 0mm | |
| Inspection item | 2D: Component inspection and solder bump inspection using transmission image 3D: Solder bump inspection using transmission image planting- lled TH inspection using CT image | |
| X-ray source | Sealed transmissive microfocus tube Tube voltage : 40-110kV Tube current : 10-100μA Focus spot size : 2μm | |
| Detector | Sensor Type : 6.9 mega pixel | |
| Max. Oblique capturing angle | 55° | |
| Geometric magni cation | Vertical capturing : Max. x71 / Oblique angle capturing : Max. x71 | |
| Image resolution | Vertical capturing : Max. 0.7μm Oblique angle capturing : Max. 0.7μm | |
| Image resolution | Vertical: Max. 0.33µm Oblique capturing angle 60°: Max.0.67µm | Vertical: Max. 0.75µm Oblique capturing angle 60°: Max.1.5µm |
| Power voltage | Three-phase AC200-240V / 7kVA / 50/60Hz | |
| X-ray leakage dose | 0.5μSv/h or less | |
| Footprint | W1,630 x D2,240 x H1,600mm | |
| Weight | 4,500㎏ | |